Most home office desks look tidy from the front. Slide one away from the wall and the truth appears: a grey knot of power leads, a charger that fits nothing you own, and a monitor cable pulled so tight the plug has started to bend.
Cable management is not about making the back of a desk pretty. It is about swapping a webcam in ten seconds, unplugging a laptop without crawling on the floor, and moving house without cutting anything free. This checklist works through a home office in order — surface, under the desk, wall, floor and the furniture around it — using fittings that will not mark your desk or annoy your landlord.
The whole job takes an evening. Do it once properly and you will not think about it again for a year.
Start with an empty surface. Take the lamp, monitor, dock, speakers and mug off the desk and put them elsewhere; cables are far easier to route when you are not reaching past a monitor arm. If the monitor sits on an arm, ask whether it could move to a wall bracket instead — it frees the entire back edge and removes one more cable from the desk.
Before you unplug anything, photograph the back of the desk. It takes five seconds and saves a lot of guessing an hour later, when you are staring at six identical black plugs. Take a second photo of the back of the PC or dock while you are there. Then switch off at the wall and pull the lot.
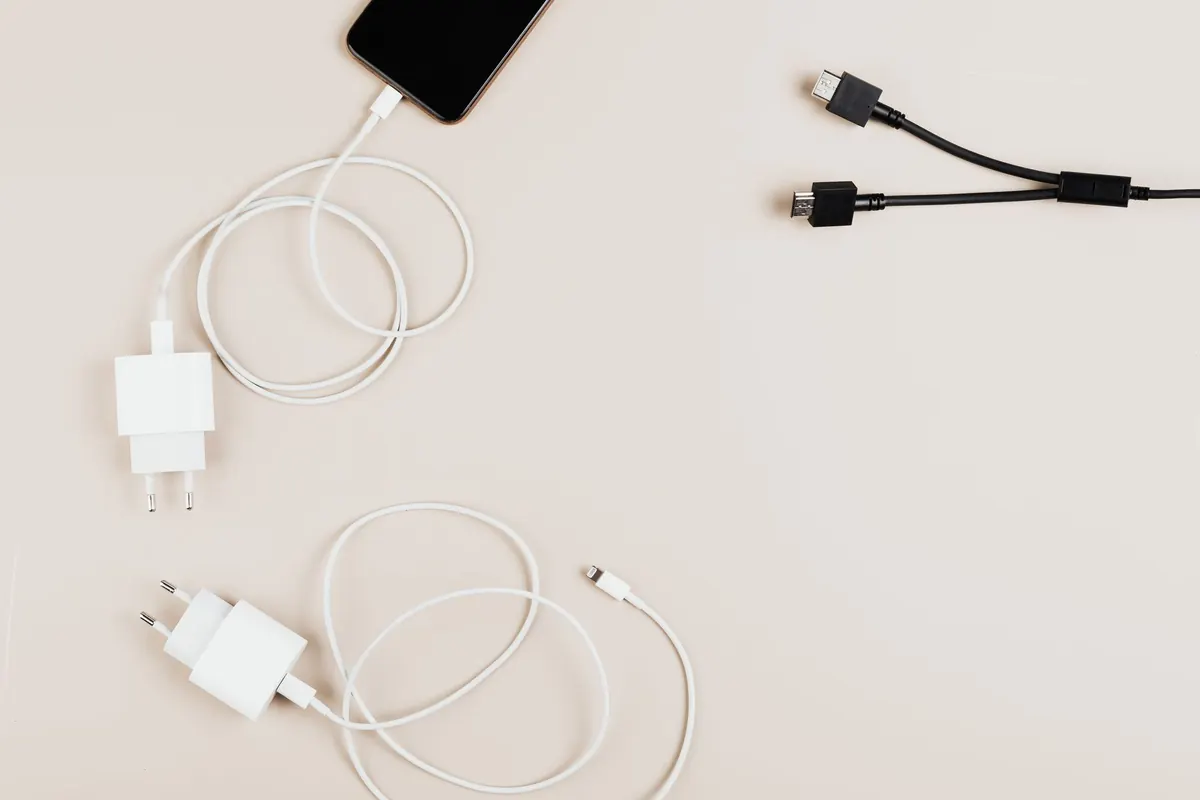
As each cable comes out, ask one question: does the device it belongs to still exist? Old micro-USB leads, a charger for a camera you sold, the third HDMI cable kept "just in case" — if it has no home, it goes. Fewer cables is the most effective cable management there is. A drawer of orphaned leads is not a spare-parts kit; it is a tax on every future move.
Before routing anything, split what is left into three piles:
Keep power and data runs apart where practical. It costs nothing, and it avoids the low-level hum some setups get when a cheap power adapter sits alongside an audio cable. Occasional cables should not live on the desk at all — a labelled pouch in a drawer is their home.
While the piles are separated, note which cables are too long. A two-metre USB lead on a desk where everything sits within 60 cm is the single biggest cause of the knot. Replacing it with a shorter one solves more than any clip or tie ever will.
Work backwards from the desk, not forwards from the socket. The socket end is fixed; everything else can move.
Fit a cable tray or a shallow basket under the worktop and run the main bundle through it. Use hook-and-loop ties rather than single-use zip ties, because you will re-open that bundle and zip ties mean cutting and re-routing every time. Leave a service loop of 15–20 cm at each device so no plug sits under tension. Do not coil a working power adapter tightly — heat needs somewhere to go, and a brick wrapped in cable runs warmer than it should.
Mount the power strip on the underside of the desk or on the wall behind it rather than leaving it on the floor. Off the floor it stays dry and dust-free, and you never have to kneel to reach it. Adhesive-backed strips are fine on laminate; on a rented wall, use a hook-and-loop pad so it lifts off cleanly.
Only three or four cables should ever touch the desktop: the monitor feed, keyboard and mouse (or one wireless receiver), and a single charging cable. Everything else lives behind or below.
Route surface cables along the back edge and under the monitor riser, holding them with low-profile clips or, on a metal desk, magnetic clips. Leave the front third of the desk completely clear. A short cable that reaches is better than a long one that loops — measure before you buy.
Run the bundle down one corner, not down the middle of the wall. Trunking or a fabric cable sleeve keeps it in one piece and stops it looking like spaghetti. Keep the floor run to the very edge, under a skirting board if you can, and cross doorways at right angles with a flat cover rather than running along the threshold.
Never run a cable where a chair wheel will roll over it; that is how the plug gets bent. A single cable channel is cheaper than a replacement monitor lead.
Labels on only one end are half a system. Put a wrap or a flag on each end of every cable — "monitor," "dock," "printer" — so a swap never requires tracing the whole run by hand. A strip of masking tape and a marker does the job; a label maker does it better.
Write the label so it can be read while the cable is plugged in. And when you add a device later, label it the same day. This is the step almost everyone skips, and it is the one that saves the most time a year from now.
Cables do not stop at the desk edge. An under-desk drawer unit, a pedestal or a standing-desk frame all need thinking about.
If a cable cannot be unplugged, swapped or moved without tools in under a minute, it is not managed — it is just hidden.
End the job with a habit. Once a month, pull the desk out, check for chafing, tighten any loose ties, and throw away anything new that has crept in. Five minutes stops the knot from forming again, which is the only real measure of whether the system worked.
Then push the desk back to the wall. Nothing should snag, pinch or stretch — and if it does, you know exactly where to look.