A laptop is a brilliant thing until you use it for eight hours straight. Then the compromises start to show: the screen slides down to meet your hands, your neck follows, and by mid-afternoon your shoulders have crept up around your ears. The fix is rarely a new laptop. It is a handful of small, cheap adjustments, and most of them take under five minutes.
Every laptop makes the same trade-off. The screen and the keyboard are one unit, so the height that suits your hands is roughly 20 to 30 cm lower than the height that suits your eyes. You cannot satisfy both at once. So you compromise: you drop your gaze, round your upper back and reach slightly forward. Do that for an hour and it feels fine. Do it for a week and your neck starts sending messages.
The way out is to separate the two jobs. Put the screen where your eyes want it, put the keyboard where your hands want it, and most of the hunching disappears without you having to think about it.
Before you raise anything, sort out the base. A raised laptop on top of a badly set-up chair just moves the problem higher.
Aim for the top of the screen to sit at roughly eye level, or just below it. You should be able to read the top line of a document without tipping your chin up or down. Sit about an arm's length away, somewhere around 50–70 cm for most people, and check that you are not slowly leaning in as you read.
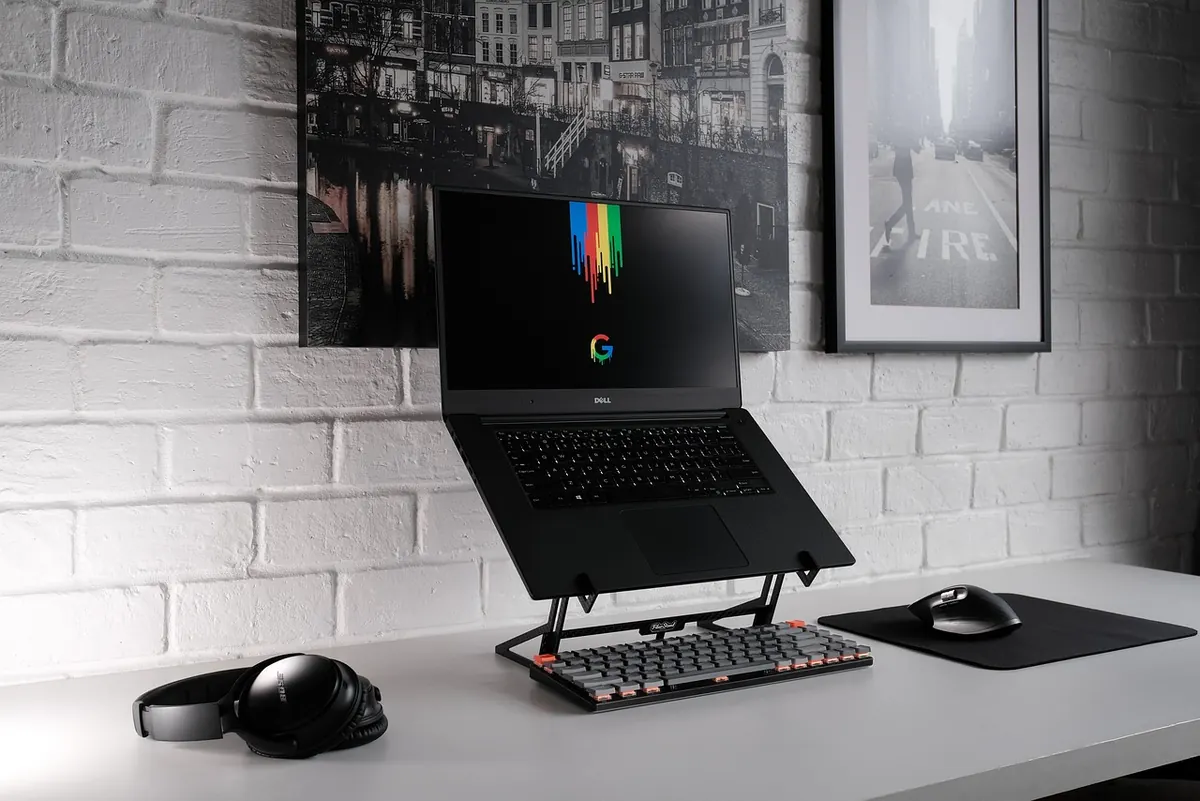
A dedicated laptop stand is the neatest answer, and adjustable models let you fine-tune the height as well as the angle. But you do not need to buy anything. A stack of sturdy books, a solid box or a small shelf will all do the job, provided the laptop sits flat and secure and nowhere near the edge of the desk.
If you have an external monitor, use it as your main screen at eye level and treat the laptop as a secondary display, pushed to one side and used for reference material rather than typing. Two screens at different heights is worse than one screen in the right place.
This is the step people skip, and it is the one that makes everything else work. Once the laptop is up at eye level, its built-in keyboard is out of reach, which is exactly the point. You now need an external keyboard sitting at the height that suits your hands.
When choosing one:
Position the keyboard so it is centred on the screen you use most, and close enough that your elbows stay by your sides. Keep the mouse within easy reach. Do not rest your wrists on a hard desk edge while typing; use a wrist rest for pauses between bursts of typing, not as a place to type from.
If you have to remind yourself to sit up straight every ten minutes, the setup is wrong, not your willpower.
With the screen raised and the keyboard lowered, the main cues become easy to hold:
Then break the stillness. Stand up every 30 to 45 minutes, even briefly. Look away from the screen regularly — the common 20-20-20 prompt is a useful habit: every 20 minutes, look at something about 20 feet away for 20 seconds. If you get persistent neck, shoulder or wrist pain, or numbness or tingling in your hands, speak to a GP or physiotherapist rather than working around it.
Kitchen tables, hot-desks and hotel rooms rarely cooperate. A folding laptop riser and a compact keyboard will fit in most bags and take seconds to set up. If you are working for a short spell on a laptop alone, that is fine — just keep the sessions short and move more often. The trouble comes from doing it every day for months, not from an occasional hour in a café.
Set the whole thing up once, properly, and then leave it alone. Take a photo of your desk when it feels right so you can put it back together after a clear-out or a move. Recheck the basics twice a year — height, distance, keyboard position — or whenever you notice yourself drifting into a slouch again. Ten minutes of adjusting now is a lot cheaper than a new chair you buy in frustration later.
Photo: Riekus / Pixabay